
How to create and work with Purchase Orders
Purchase Order
In terms of Asset Insider, Purchase Order is the process of purchasing (creating) new assets.
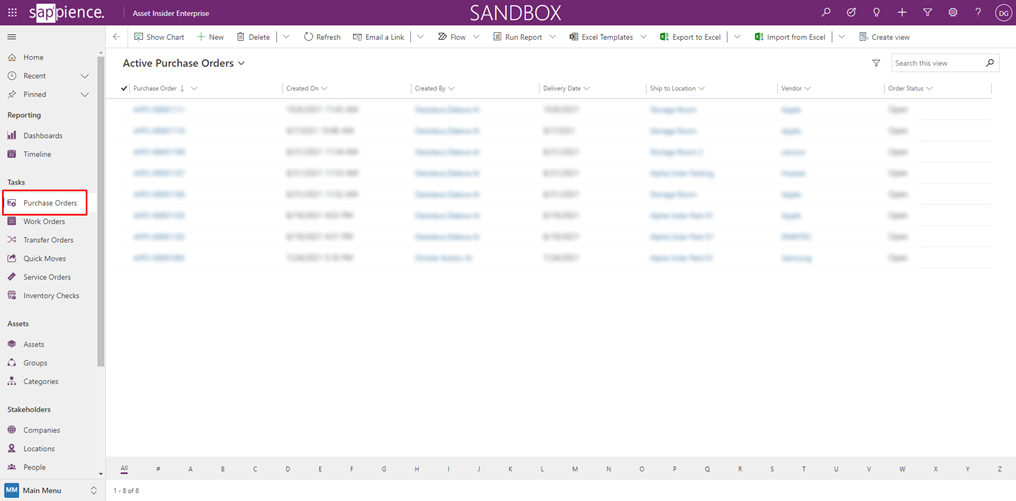
Where to find the Purchase Order functionality?
Purchase order functionality is located in the Left Side Bar Menu.
How to create a new Purchase Order?
- To create a new Purchase Order first click on the “New” button located in the top ribbon
- Choose from which vendor you would like to purchase your assets.
- Select a location where you want your asset/s to be delivered physically
Note: This will be the initial location of the assets after their creation.
- Select a preferred delivery date
- Select your preferred shipping method (depending on your agreement with the Vendor)
- If there are any costs that will be valid for all assets in the order you can enter the amount for them in the “Cost For Allocation” field (For example: delivery costs)
Note: You can add this type of cost at any step before completing the order.
- If you enter an amount greater than 0.01 two additional fields (Cost Type and Cost Center) will appear
Note: If you don’t select any Cost Type or Cost Center the costs will be assigned to the “Default” cost type and center.
- After you are ready with the initial data click on the “Save” button to create the order
- After creating the order, the steps from the Business Process Flow (BPF) will guide you through the whole process
- The last thing to do to finish the first step of our BPF and to move forward is to add the types of assets that we want to purchase
- To do this click on the “Purchase Order Line” from the “Items” section
- Next, choose from which Group you want to purchase assets
Note: Groups in the lookup field are prefiltered based on the selected Vendor.
- Enter the number of items you want to purchase
- Enter the price for a single item (Optional)
Note: Subject of further automation.
- Select a Cost Type and a Cost Center for the costs (Optional)
Note: If you don’t select anything here the costs for each item will be assigned to the “Default” cost type and center.
- If you have information about the warranty of the items (if they have or not) you can enter it at this step
Note: You can enter warranty information also later before closing the Purchase Order.
- If the items have a warranty and you decided to enter the information at this step you will have to enter the warranty duration in months
Note: The warranty service provider will be auto-populated based on the settings from the selected Group but you can change it if you want.
- Click on the “Save and Close” button
- The “Items Added” flag will automatically switch its value to “Yes” and you can move to the next Stage
- If there is an assigned “Approval Policy” (for more go to the “Approval Policies” section) to the receiving location of the items there will be an additional approval stage in the process
Note: If there isn’t an approval policy assigned this step will be missing.
- To send the order for approval -> switch the “Send for Approval” field to “Yes”. This action will change the “Approval Status” to “Submitted”
- If Approved -> you can continue to the next stage. The “Approval Status” will change to “Approved”
- If Rejected -> the order will be “Cancelled”. The “Approval Status” will change to “Rejected”
- After successful approval of your order, you can continue to the next stage
- The next stage is related to the confirmation by the Vendor for its ability to deliver your items
Note: Off system action. Can be a subject of custom integration.
- Here you have the option to create a Word document with all the information of the Purchase Order. You can use this document for example to send it to the vendor for confirmation of your order.
- To do this:
- Click on the “Word Templates” button located in the top ribbon and select the predefined Word Template
- To do this:
- After successful confirmation by your vendor switch the “Confirmed by vendor” flag to “Yes” and you can move to the next stage
Note: This action will trigger an automated mechanism of creating new lines in the “Purchase Order Items” section (equal to the ordered quantity).
- The last thing left to do to complete the order is to receive our items when they are delivered to us physically by the vendor
- To receive an item:
- Double click on the line of the selected item
Note: The process of receiving the items can be performed from Asset Insider Mobile App also, where the procedure is a lot easier because you are using just your mobile phone/tablet’s camera to scan the serial numbers and the app do the rest.
- Enter a serial number (OEM serial number or internal one) for the received item
- Switch the “Received” flag for the item to “Yes”. By doing this the received item will become a true asset in the system.
- After successful receiving of all the items, the “Fully Received” flag will automatically switch its value to “Yes” and the order will be Completed.
Result
In the end, several things will happen in the background:
- All received items will become true assets in the system
- Costs (for more information go to the “Cost Management” section):
- An actual Dedicated cost will be created for each newly created asset depending on the single item value that we set earlier
- If there was an Allocated cost set it would be splitted equally between all the items (now assets). The costs will become actual.
- An asset event will be automatically generated into each newly created asset’s timeline