Inventory Check
In terms of Asset Insider, Inventory Check is a process that supports up-to-date physical existence information about your assets.
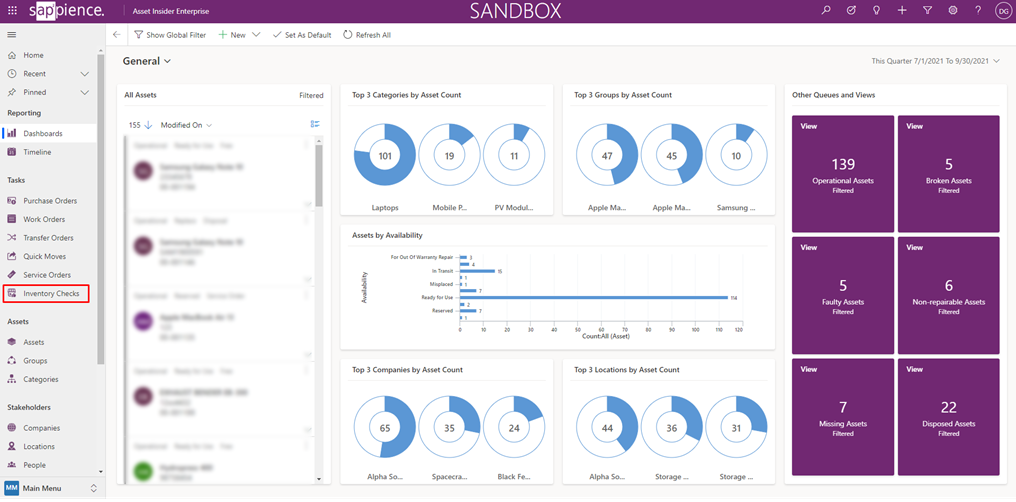
Where to find Inventory Check functionality?
Inventory Check functionality is located in the Left Side Bar Menu.
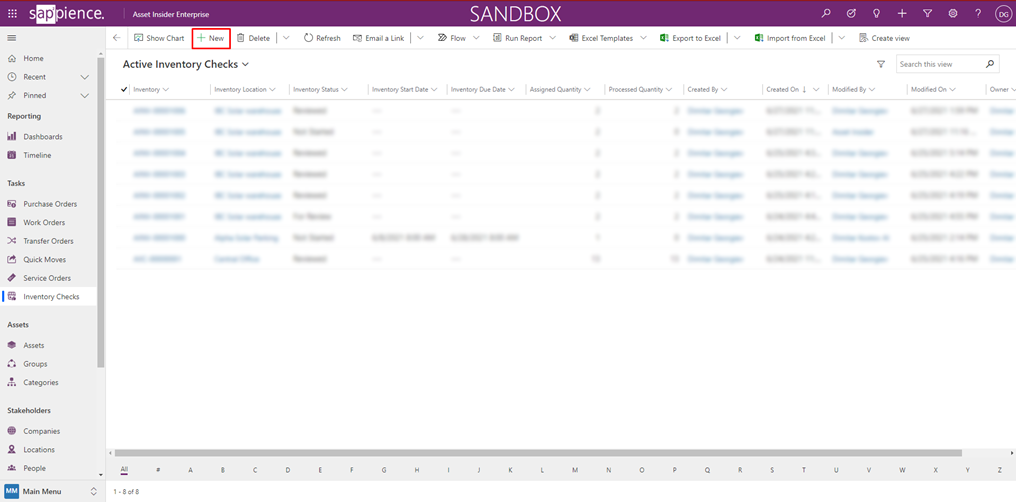
How to create a new Inventory Check?
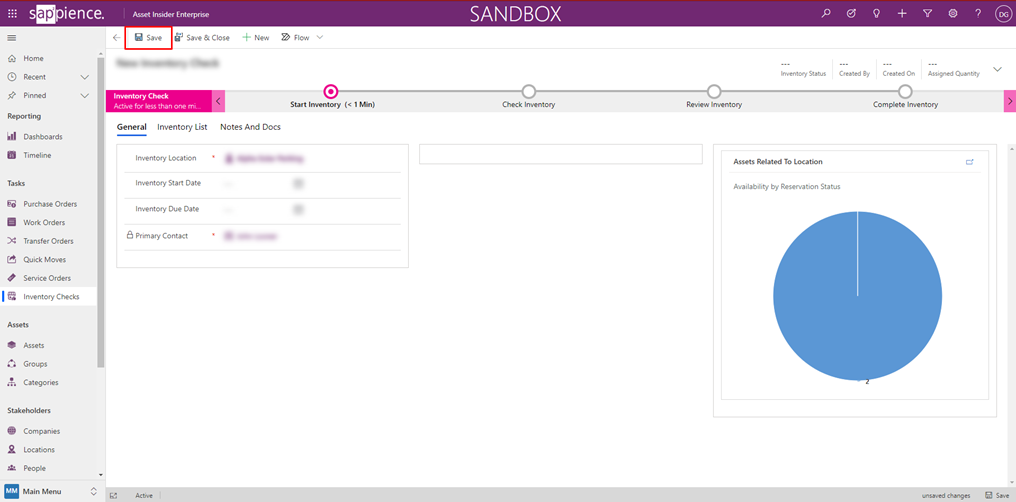
- To start a new Inventory Check click on the “New” button
- Select a Location for which you want to perform an inventory check
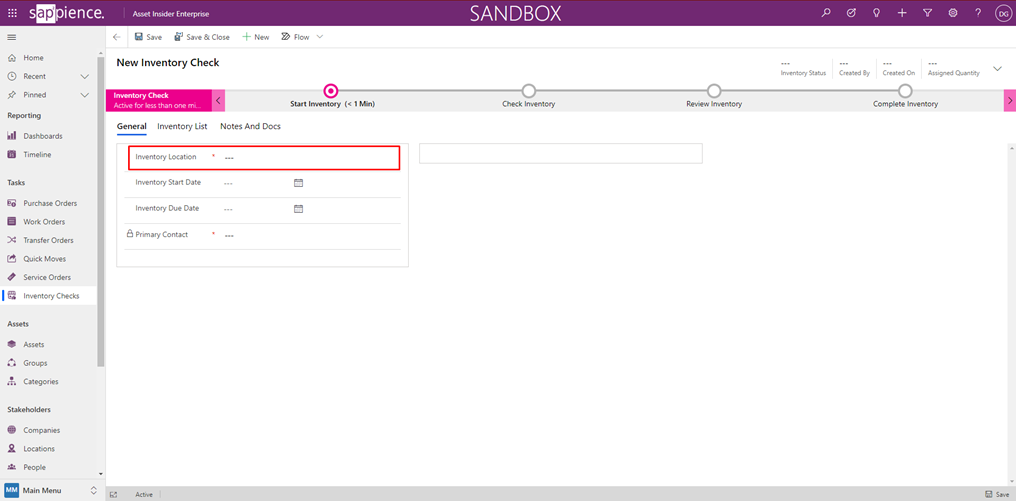
- With the selection of inventory location several things will happen:
- The primary contact of the selected location will be auto-populated as the main responsible person for the inventory check
- A chart with the assets in the selected location will appear to the right of the screen
Note: Inventory Start Date and Inventory Due Date are optional.

- When you are ready with your selection of the location click the “Save” button
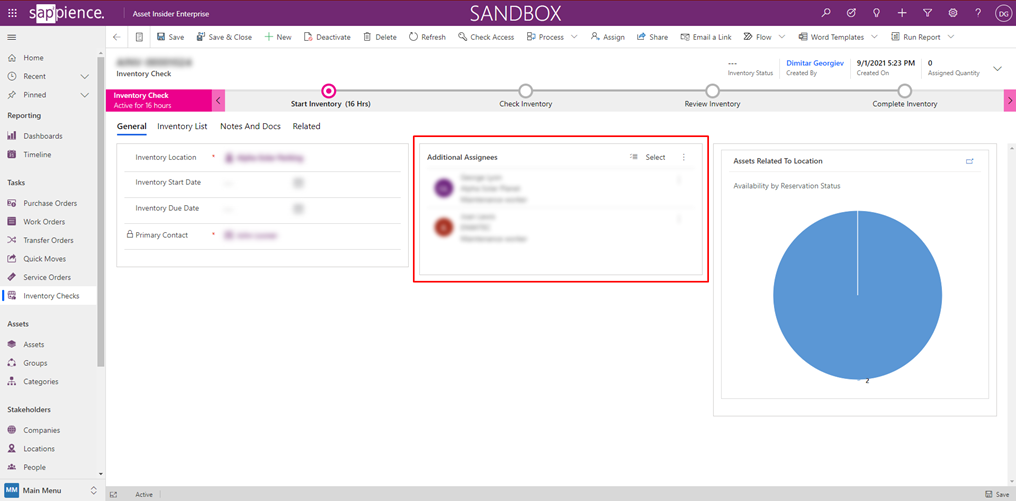
- Before moving forward you also can add additional assignees (other people related to the inventory process who will carry out the physical recognition of the assets)
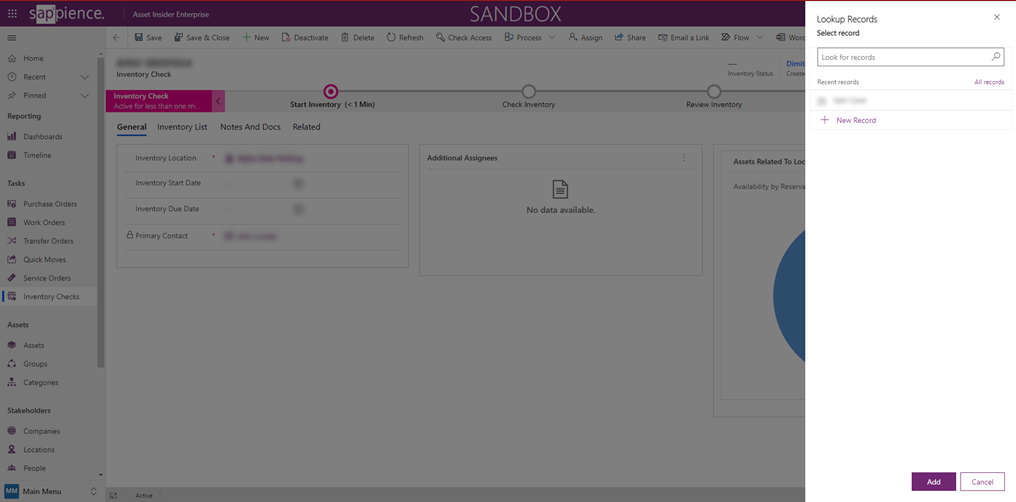
- To do this click on the ellipsis and select “Add Existing Contact”
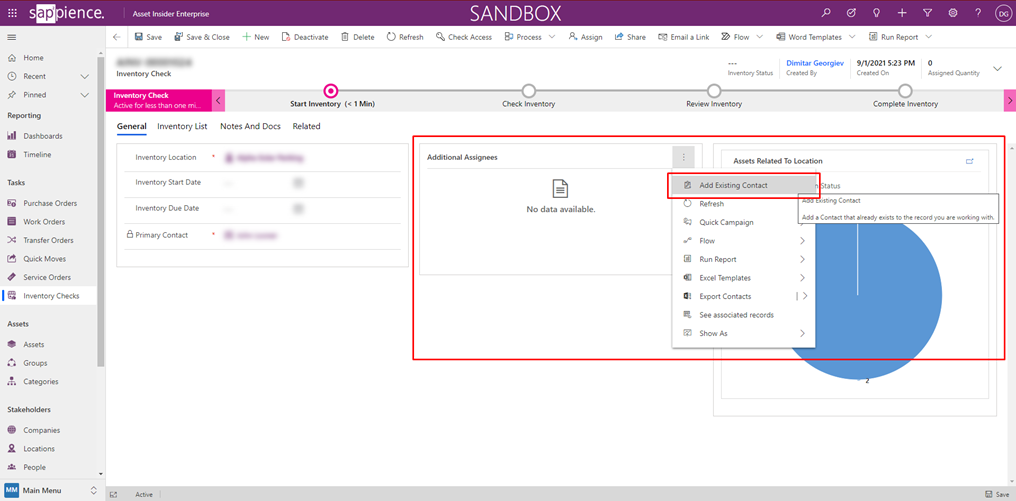
Note: The field is multi-choice. So you can select more than one person.
- After everything is set you can start the inventory process
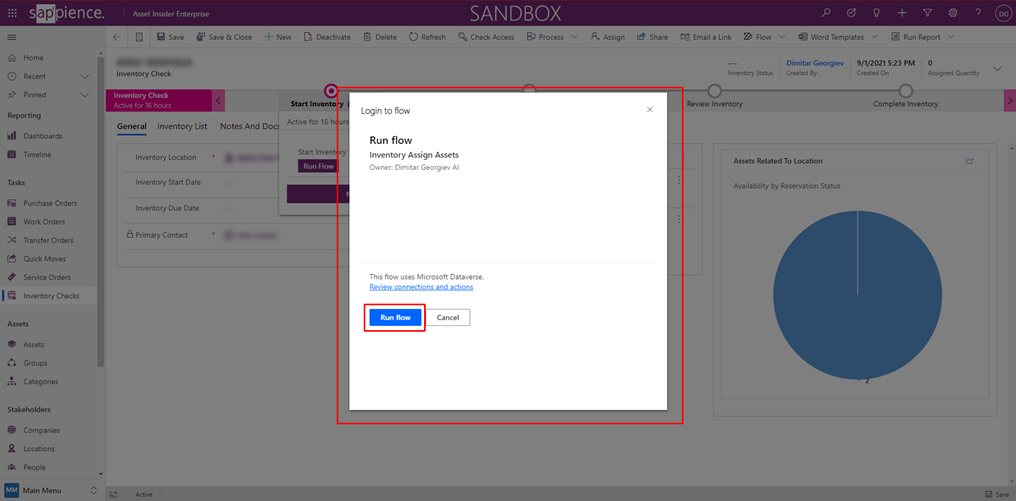
- To do this first click on the first step of it – “Start Inventory”
- Then click the “Run Flow” button

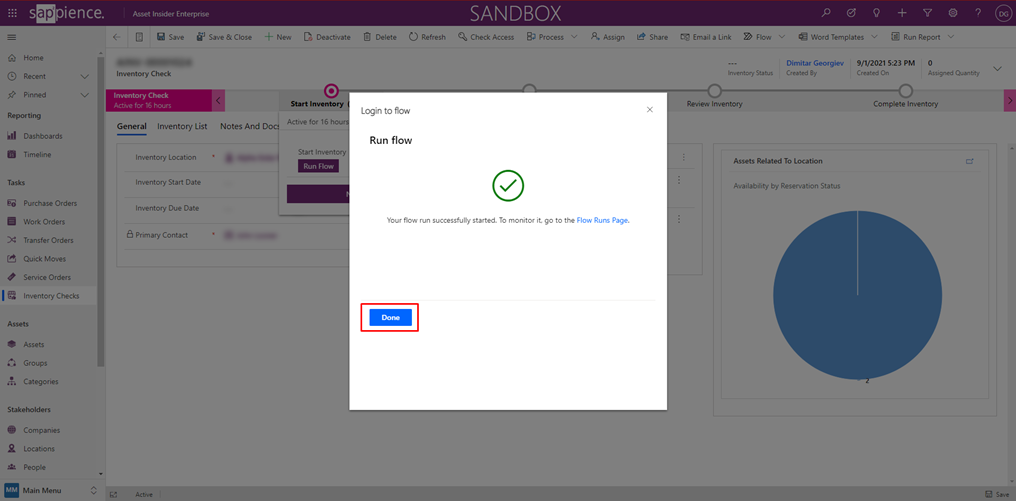
- In the newly opened window click again the “Run Flow” button
- Click the “Done” button
7. The “Start Inventory” status will be set to “Processing” which means that your inventory list with the assets from the selected by you earlier location is preparing at the moment. It may take a while depending on how many assets there are in the chosen location.
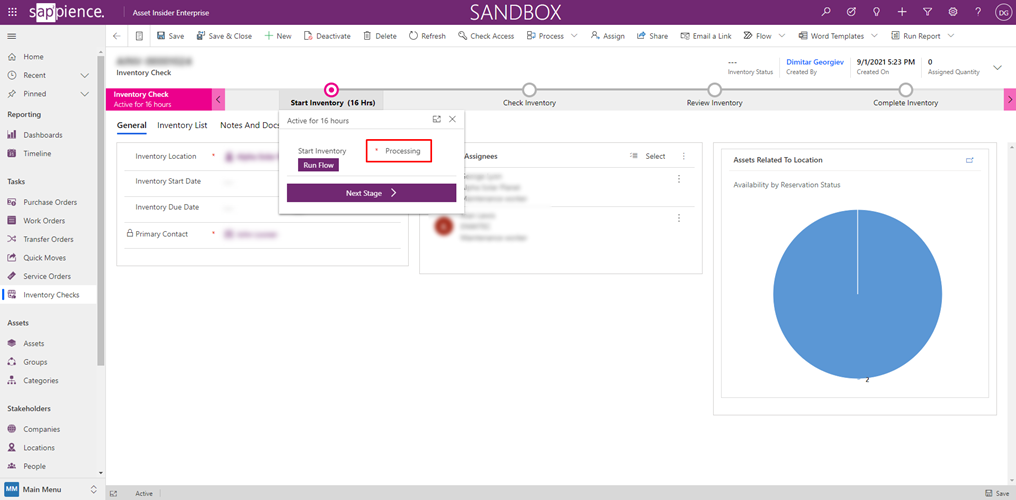
8. Wait or leave it until the “Start Inventory” status changes to “Succeeded”. Then click on the “Next Stage” button
9. As you move to the “Check Inventory” step, you may notice that the “Inventory Check Complete” option is locked. It will remain locked until all assets in your inventory list are checked
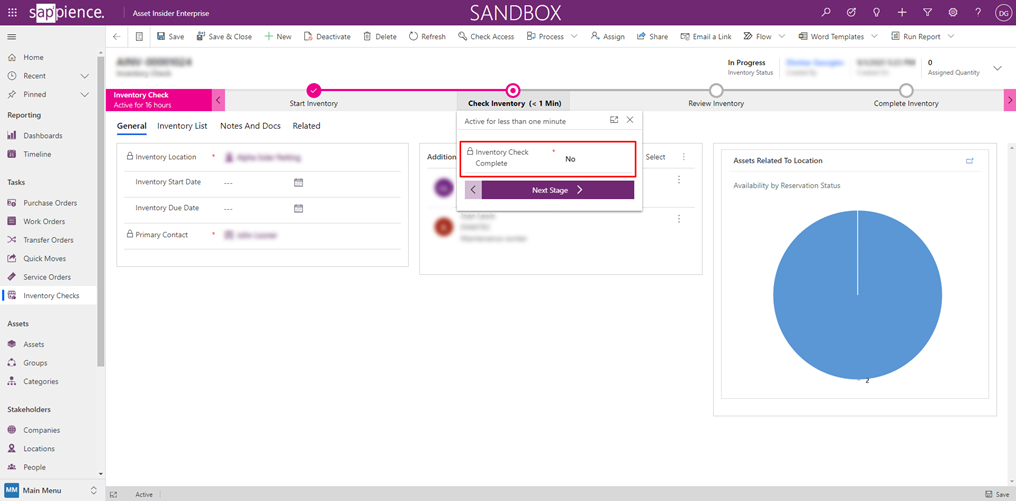
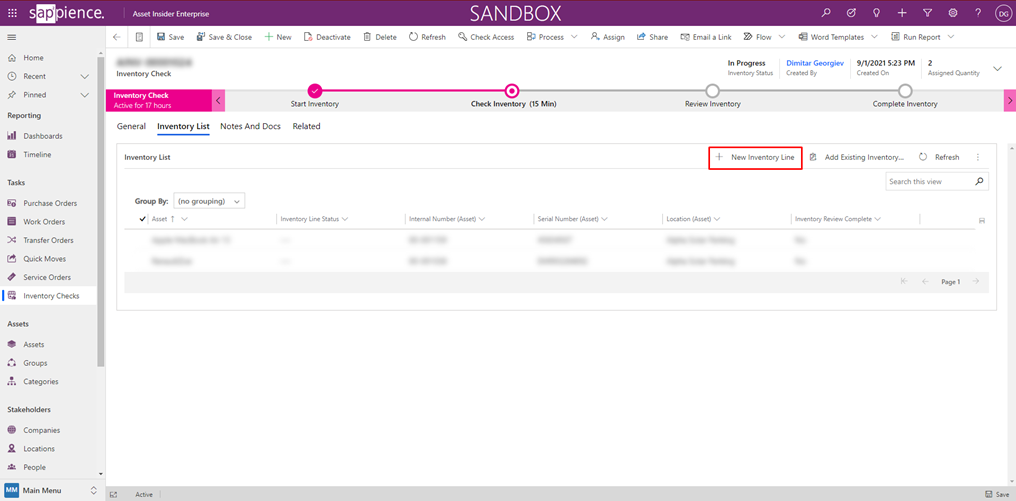
10. To start checking the assets go to the second tab – “Inventory List”. In this list, there will be all assets that should be present in the selected earlier location.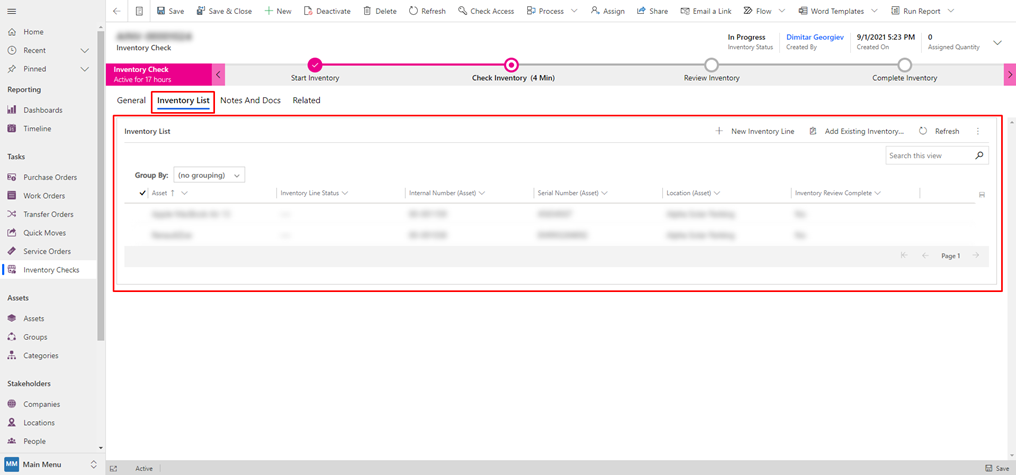
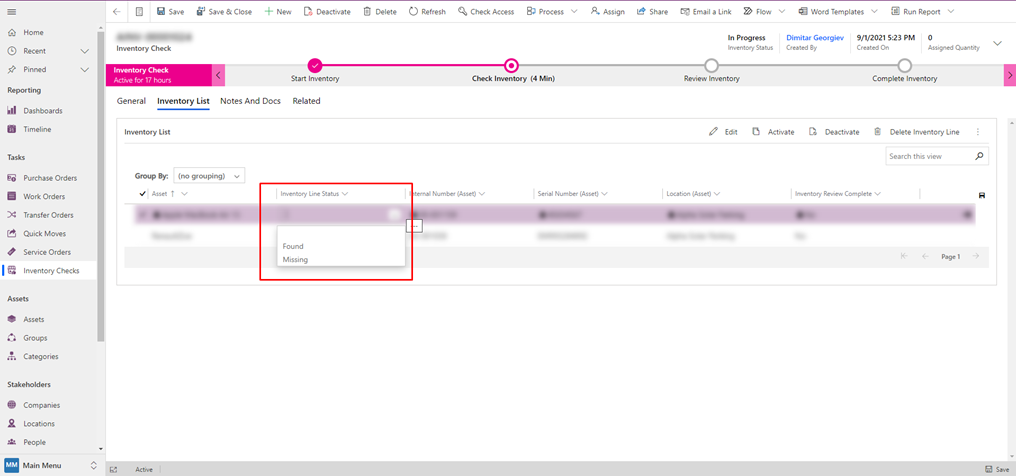
11. For each asset, you have two options: “Found” and “Missing”.
Note: All assets marked as “Found” during the inventory process will be restored to their original state All assets marked as “Missing” will change their Availability status to “Missing”.
-
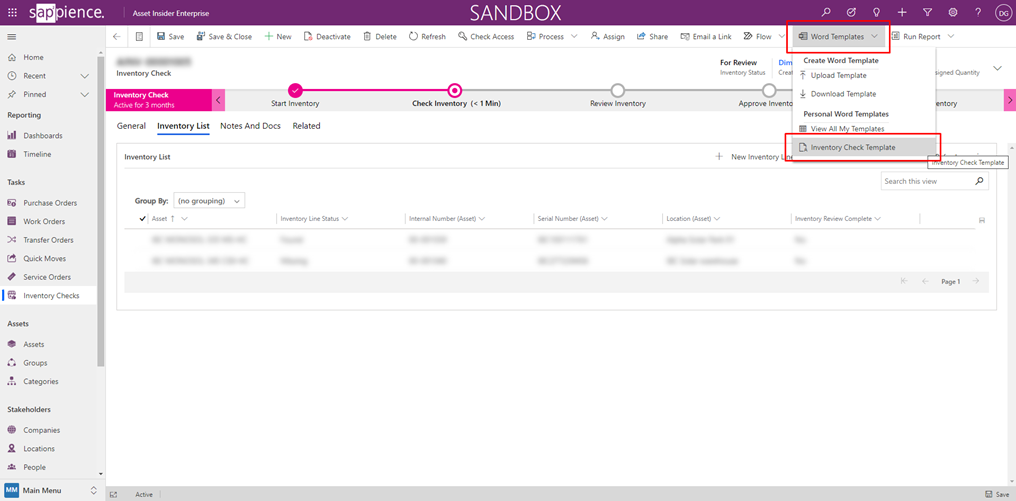
- Click on the “Word Template” button from the top ribbon and select the predefined Word template

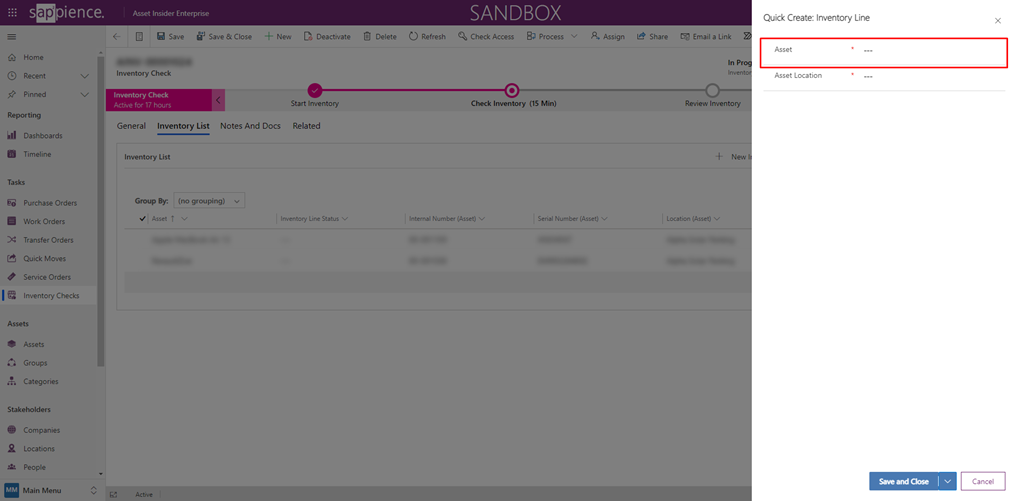
a. You can search for the asset by Name or Serial number.
b. If there is a match in the database you will be able to select the asset from the list
c. After selecting the asset, its location will be automatically found and available for selection.
d.This asset will be marked automatically as “Found”. In case the asset is from another location at the end of the inventory process it will change its stakeholders to current.
14. When all assets in the inventory list are checked the “Inventory Check Complete” field will change its value to “Yes”. Then you can move to the next stage.

15. The purpose of the “Review Inventory” stage is for some responsible person to check the “Inventory List” for any mistakes and to correct them if there are any.
Note: This is the last stage where you can make any corrections to the Inventory.
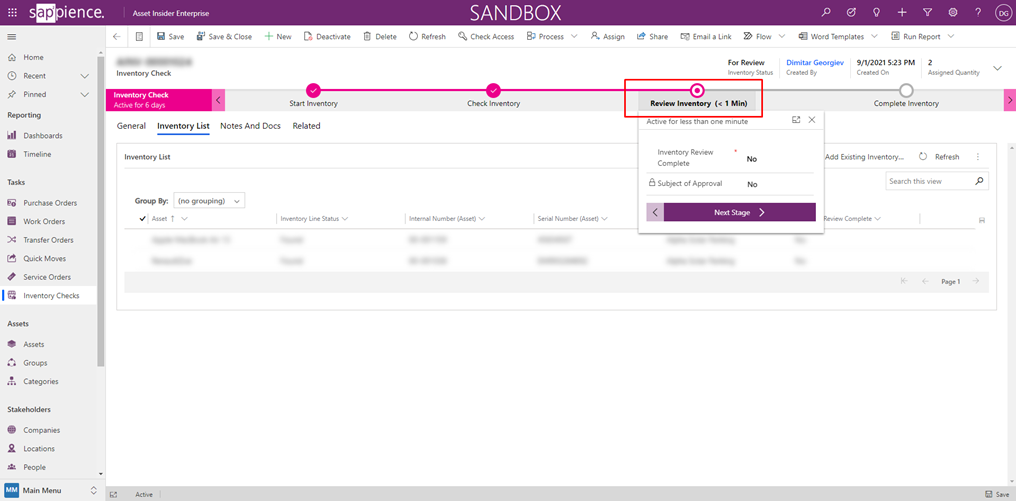
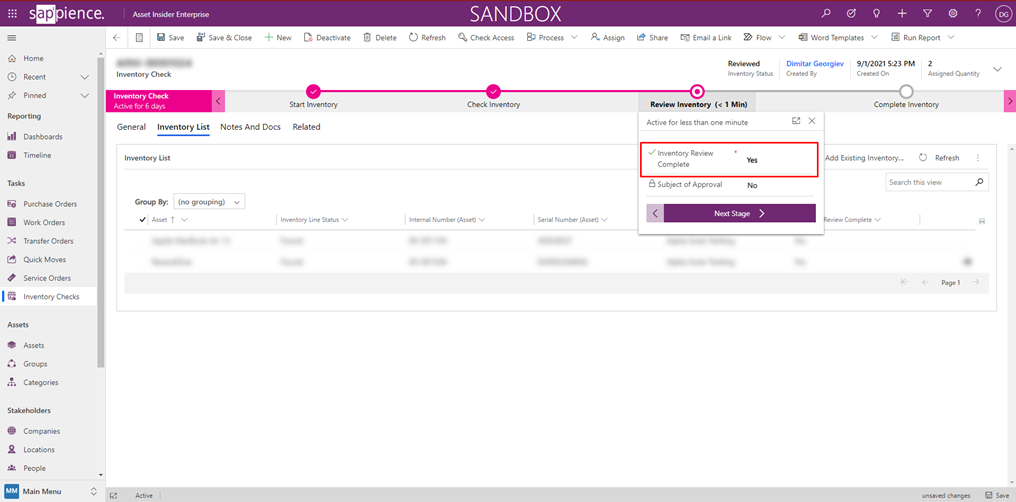
16. When the Inventory has been reviewed and everything is fine the responsible person for the review need to set the “Inventory Review Complete” option to “Yes”. This will lock all fields in the “Inventory List”.
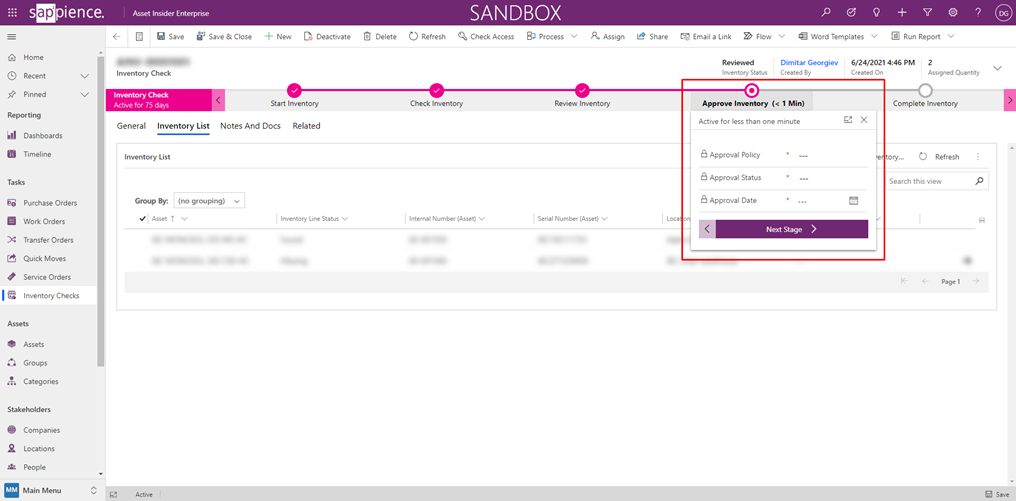
17. In particular cases, if you have set an “Approval Policy” (you can find more information in the “Approval Policies” section) for the location in your inventory there will be an additional “Approval” stage before you could complete the inventory check.
Note: If the inventory is approved by a responsible person that the needed information in the “Approve Inventory” stage will be auto-populated and you will be able to proceed to the next stage. If the inventory is rejected the inventory will be cancelled and the assets will be restored to their initial state.
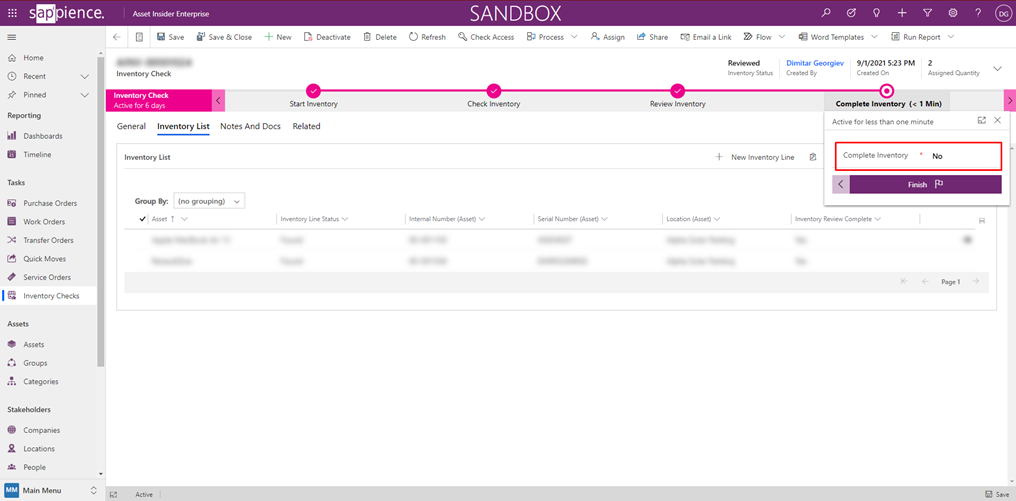
19. Click “Finish” and that’s it. The Inventory is completed.
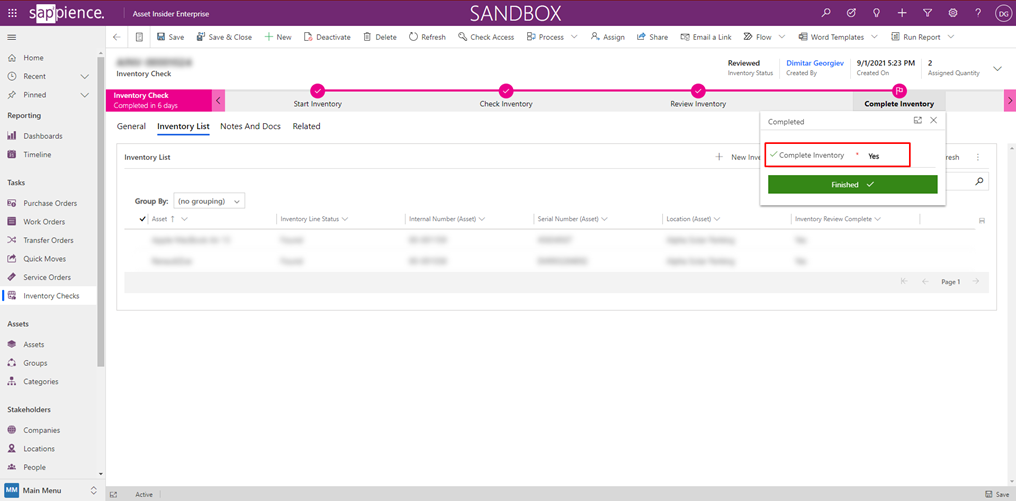
Result
After successful completion of the inventorying process several automated actions happen in the backend:
- For all assets from the current inventory location:
- Marked as “Found” will restore their initial statuses
- Marked as “Missing” will change their availability to “Missing”
- For all assets “Found” and added to the inventory list but which are not from the current inventory location:
- Their availability will be changed to “Misplaced”
- Their stakeholders (Company and Location) will be changed to the current inventory location
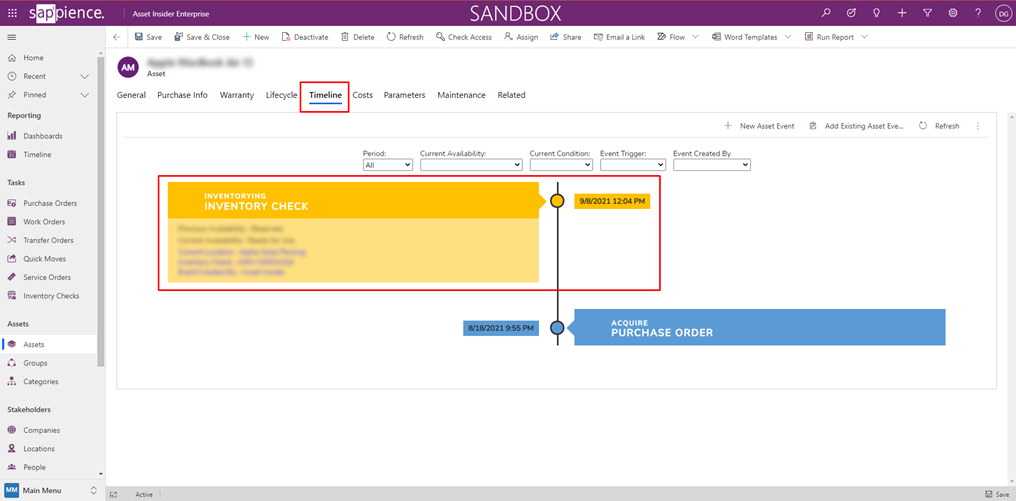
- An event in the “Timeline” will be generated